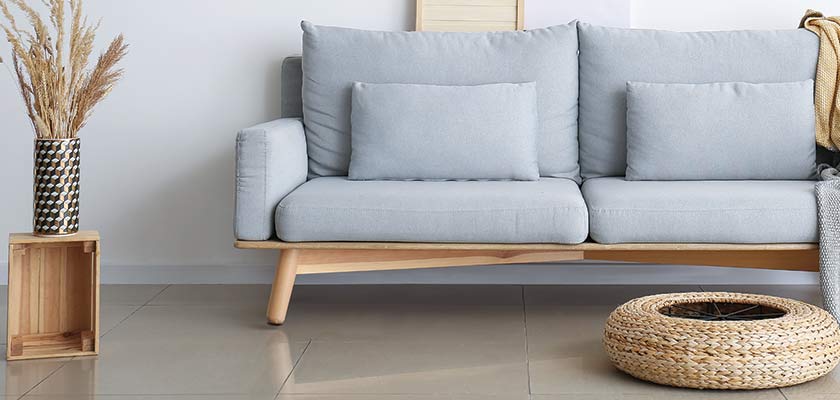
Does your sofa or chair need a spruce up? In this article, we explain how to upholster cushion seat for a sofa or chair, with step-by-step instructions.
One of the easiest ways to spruce up any home is to reupholster the cushions on a sofa or chair. Just a simple change in fabric or color can dramatically affect the overall ambiance of any room. From mild to wild, your imagination is limitless when it comes to choosing new fabrics, designs, patterns, and colors to rejuvenate any living space.
In this beginner-friendly guide, we explain step-by-step how to upholster cushion seat for sofas, chairs and other seating around your home.
How to Upholster Cushion Seat for Chairs and Sofas
Before you get started on upholstering cushions or any upholstery project, it’s vital that you take lots of photos of the item.
Not just for showing off your awesome before/after photos to friends later on, but more importantly the photos are there so you can check how the cushions were originally put together if you have any questions while reupholstering them.
After you’ve taken photos, the steps for how to upholster cushion seats are:
- Remove covers from old cushion
- Separate pieces of fabric, by ripping the seams
- Straighten the old fabric, by ironing
- Create a template from the old pieces of fabric
- Measure new fabric, according to template
- Cut out the new fabric
- Sew new pieces together
- Attach the zipper
- Inspect and recover the old foam
- Insert foam into reupholstered cushion covers
We’ll now cover each of these steps for how to upholster seat cushion in detail below.
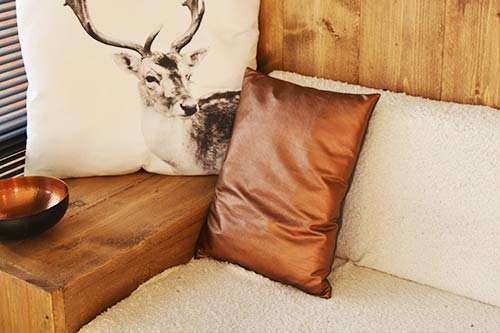
Prepare Your Old Cushions
#1 Remove Covers
The first step in upholstering a cushion is to simply remove the cushion from the furniture. Most cushions have a removable cover, which can be unzipped. If you are lucky enough to have a removable cover, then simply unzip it and pull it off of the foam.
However, if you have cushions that do not have a zipper, then you will need to find the main seam, and open it up using a seam ripper. Once the main seam has been opened, just like the zippered version, you can simply pull the cover off from the foam.
Be careful when removing covers, especially with older cushions. Over time, the foam will decay and will leave a powdery residue inside of the cover. Make sure to wear a respirator when removing the cover to ensure you do not accidentally inhale any particles.
#2 Separate the Pieces
With the covers removed, it is time to start separating the individual pieces. Even the simplest cushion is composed of at least 2 pieces of fabric. In order to separate these pieces, you will need to turn the cover inside out to expose all of the seams.
Use a seam ripper to cut the thread along the exposed seams. Basic cushions may have two pieces of fabric to be separated. However, more complex designs may be composed of six or even more pieces. Make sure to carefully rip the seam out of each piece and keep the pieces together so that you do not lose track of which one goes where.
Lastly, you will need to remove the zipper from the cover and set it aside. If there are broking or missing teeth in the zipper, then you will want to replace it altogether, otherwise, you can simply reuse it.
#3 Straighten Old Fabric
Once you have all of your pieces separated, and organized accordingly, you will need to straighten the old fabric out in order to create templates. Unlike fabrics used for clothing, the fabrics used for cushions are quite thick and they retain the memory of the seam folds. As a result, before taking any measurements and making a proper template these seams will need to be straightened.
The most common way of straightening old fabric is to carefully iron out the seams until they are flat. Bear in mind that not all fabric can be ironed this way, so make sure to test a small area first. By straightening out the fabric and removing any wrinkles, your final measurements will be more accurate.
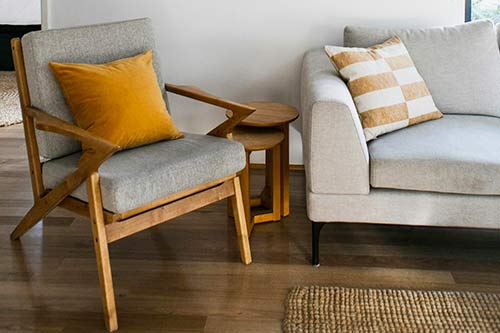
How to Upholster Cushion with New Fabric
#1 Create A Template
When it comes to cushions that are composed of more than two pieces of fabric, putting everything back together correctly can be a daunting task. As you are creating templates, make sure to also draw out a diagram as a reminder of how to put them back together.
In order to prevent slippage, it is important to always create a template and then transfer the pattern to the new fabric. Never lay the old fabric on the new fabric in order to create the cut lines.
The easiest way to create a template is to lay out your template material and place the old fabric on top. If there are still some bends in the seams, you can lay something on top of the fabric to flatten it out. Double-check your lines with a straight edge and make corrections before cutting out each individual template.
#2 Measure Out New Fabric
Next, you will need to lay out the new fabric. Make sure that the fabric is lying face down, and that it is on a flat surface. Because of the size of the cushions, it is best to do this on a tiled or hardwood floor – terrazzo floors are the best since they are flat and durable. Use your templates to trace the outline onto the new fabric with a piece of sharpened chalk or soap.
It’s important that these lines are as accurate as possible. Once you have traced the outline of the template, also measure out marks for the folds. You will want to duplicate the original pieces as close as possible.
#3 Cut Out the New Fabric
When it comes time to cut out the new fabric, you will need to use a good pair of sharp scissors. All too often, many DIYers use whatever pair they have lying around the house. This usually results in subpar cuts, simply because the standard pair of household scissors are not heavy enough, sharp enough, or strong enough to cut through heavier fabric. It’s important to make sure that you use a good pair of heavy fabric shears when making your cuts.
#4 Sew the New Pieces Together
Once you have cut out all of the pieces for each individual cushion, it is time to start sewing them back together. While it is possible to sew these pieces by hand, it is always best to do this using a standard, or even heavy-duty sewing machine. You will want to use a straight seam along the edges. Keep in mind, that larger cushions will generally have a single piece of fabric that folds across the front, with seams located on the back and sides. If your template does in fact feature seams in the front, make sure that you sew one of the sides of the cushion first.
#5 Attaching the Zipper
The last step in assembling your new cushion cover is to reattach the zipper if it had one. In order to do this properly, you will need to fold over each edge of the seam by about 1/4 inch. This will ensure there is enough space between the two pieces of fabric for the zipper to move freely.
We won’t go into detail on how to sew zippers here, since there are many sewing websites that offer good instructions on how to sew zippers. A simple and straightforward set of instructions is this WikiHow article on How to Sew in a Zipper.
#6 Recover the Old Foam
When you removed the old covers, you probably noticed a lot of dust and debris inside the cushion. You also may have noticed that the foam is no longer in the best condition. Over time, the foam will compress and decompose. As a result, it’s always best to add a thin layer of new foam on the outside of the old foam. A high-quality quarter-inch or half-inch thick piece of foam is all you need. This will ensure that you completely filled the cover once the cushion is reassembled.
#7 Insert Foam into Reupholstered Cushion Covers
The last step in upholstering a cushion is to slide the foam inside the new cover. If it slides on too easily, you may need to add another layer of thin foam. It should fit snugly, and you may need to use a little bit of force to get it to fit together properly. Check to ensure that everything is square, and then return the cushion.
Final Thoughts on How to Upholster Cushion Seats
There you have it, your new-ish reupholstered chair or sofa cushions. As you can see, if you have some sewing experience and the right tools, learning how to upholster cushion seats is not too daunting. If this is your first upholstery project, we recommend you pick up a few reliable upholstery tools, such as a suitable pair of scissors, as this will make the job much more enjoyable.
If you are tackling how to upholster cushion seats for outdoor furniture in your yard, patio or deck, check out our article on how to upholster furniture exposed to rain and sun. This will help ensure you choose the right types of fabric for outdoor use, and other considerations for outdoor chairs and furnishings.
Happy reupholstering!
Author
-

Hey, I’m Sara, co-owner of NestKoo! I’m a graphic designer and professionally trained fine artist, with a Bachelor of Arts (Fine Art) majoring in Painting. I love being close to nature, sustainable living and bringing new life to old things. My specialty in NestKoo is DIY house painting, upholstery and furniture upcycling, where I bring my skills in fine art painting and contemporary design together into a practical home DIY context.
View all posts


