In this post, we explain how to stain an old fence that is a bit worse for wear. We explain how to choose stains, prepare and clean old fencing properly, and methods for applying stain.
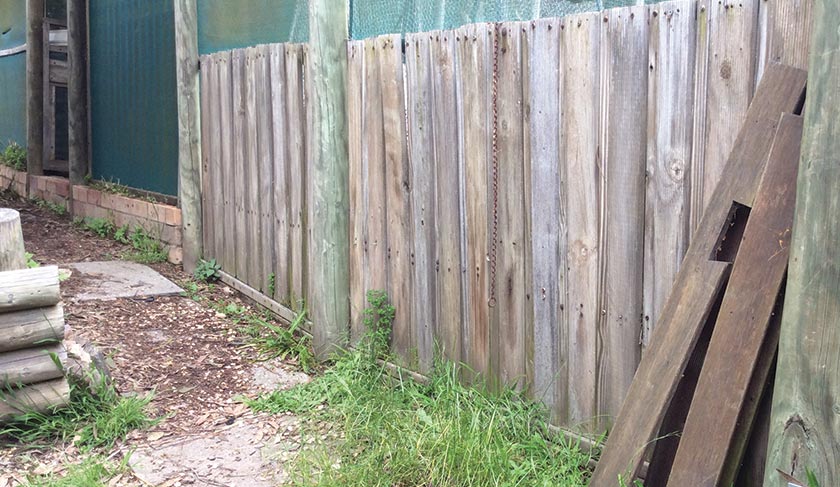
An ancient wooden fence can benefit a lot from adding an inexpensive stain. Applying stain is an easy way to give your old timber fence a fresh, like-new look, while at the same time improving its lifespan. Stains not only improve the appearance, but also help protect the wood from rotting.
For you to achieve a professional, long-lasting finish, it is best that you use a semitransparent oil-based stain suitable for exterior application. The reason being, oil-based paint helps in slowing down rotting and growth of mildews on the wooden fence, therefore improving it’s lifespan.
Applying stain to a wooden fence is quickest when you’re using a paint sprayer suitable for staining fences, but brush and roller are perfectly suitable too. Most of the time consuming work is on the preparation and cleaning.
The length of time it will take to stain an old fence varies, of course, by how much fence you have. We suggest you set aside a weekend, though it could end up taking more or less time depending on the length of your fence, as well as the weather, and how much cleaning and preparation is required.
In this tutorial, we will explain how to stain an old fence step-by-step using a paint/stain sprayer.
Tools and Materials For Staining Fence
- Stain sprayer for wooden fence (or brush or roller, if preferred)
- For removing old paint/stain:
- Sandpaper and sander, or
- Paint stripper and bristle brush, or
- Heat gun and scraper or bristle brush
- For washing the fence:
- Power washer, or
- Garden hose
- Wood sealant, clear
- Oil-based wood stain
- Rubber gloves
- Cloth
- Painters tape
- Bleach
- Paintbrush
Step-by-Step Guide to Staining an Old Fence
Step 1: Plan and schedule which days to stain your fence
Cloudy and cool weather conditions can lengthen the drying period of the wood stain. On the contrary, sweltering conditions can over-accelerate the drying period, thereby leaving undesirable patches on your timber fence. Therefore, we recommend you check the weather forecast ins advance, to make sure the conditions are looking good before you jump in.
Ideally, you want a day with a temperature range from 50-80 degrees Fahrenheit and no rain forecast. Furthermore, the day should have low humidity, and no drizzle within the subsequent 24 hours so the stain can dry properly.
Step 2: Inspect the wooden fence
Next, check the wooden fence for things like protruding staples, nails and screws. Furthermore, inspecting the wood will help you identify broken sections, rotten palings and rough areas that need repairing. If you want to enhance that ‘as-new’ look after staining, it is important that you take the time to fix any damaged areas and get your fence is the best shape possible structurally.
This article offers useful tips for fixing wooden fences, if you need some extra guidance. If desired, you can fill in any cracks with a wood filler suitable for external use, or you can choose to keep them as is if you like the texture.
You can do this step any time, even weeks before you plan on actually staining. By doing this step in advance, you can spread the work out and not feel overwhelmed (or inclined to skip any bits that need fixing) when it comes to staining day.

Step 3: Strip off the old paint or varnish
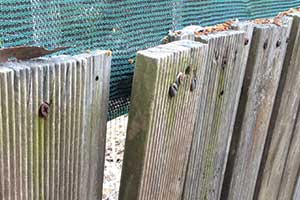
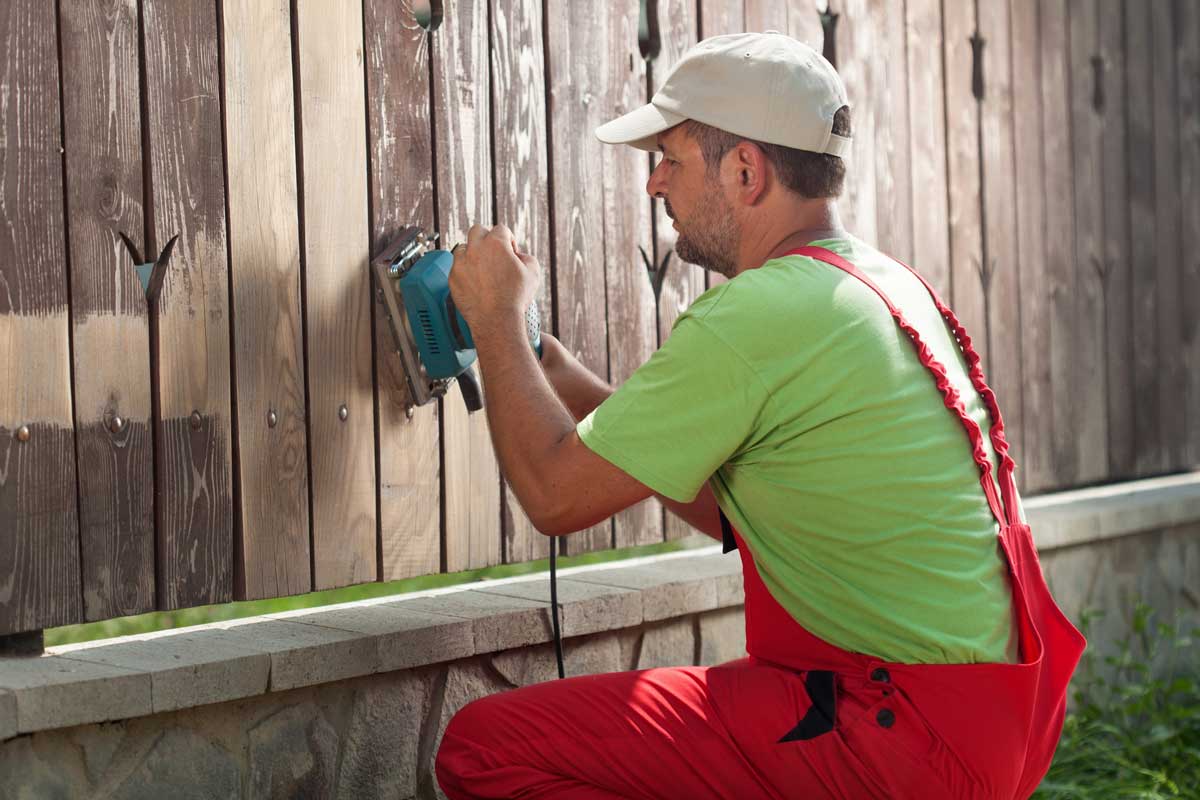
Once you have a good idea of the condition of your wood fence, you will need to sand or strip the old paint or varnish off. There are a few ways you can do this, and some popular ones are sanding, chemical stripper, or a heat gun designed for removing paint.
Sanding. Sanding is fairly straightforward, just choose the grit of sandpaper based on the roughness of your own fence. It should be enough to remove the paint but not so coarse that the sander leaves marks on the wood.
Stripper. For an old fence, you will need to apply the finish stripper on the wooden surface following the manufacturer’s instructions. Using a stifle-bristle brush, scrub off the wooden slats loosening off the old varnish or paint.
Heat Gun. Apply the heat gun to soften the paint, then remove it from the palings with a scraper or brush.
This can be a tedious job, and one that you can do a couple of days in advance if the weather is fair.
I recommend splitting the work amongst a few family members or friends if you have the option, or break it up into a few sessions, as it is very physically exhausting work and can be a strain on your back too. Don’t do it too far in advance though, as you don’t want to leave the unprotected timber exposed to the elements for too long.
Step 4: Wash the wooden fence
Using a power washer or a garden hose with a spray nozzle, wash down the wooden slats using high pressure. This will help clear away any residue from sanding, spiders and webs, insects, leaves and particles of dirt.
In addition, it will help clean up the remaining varnish or paint left after scrubbing off the wooden fence. If you’re using a power washer, keep the pressure fairly low or use a low pressure unit, to prevent the slats from weathering.
Allow the slats to dry fully before staining.
Step 5: Use diluted bleach to remove mold and mildew, if needed (optional)
If there is any mold and mildew on the wooden slats, you will have to treat them with bleach to enhance their longevity.
- Dilute the bleach with water. According to the CDC a dilution of 1 cup bleach to 1 gallon water is suitable for killing mold.
- Put on the rubber gloves. Using a garden sprayer or large pump sprayer (like those used for applying pesticides), apply the diluted bleach to the wooden slats.
- Let the bleach solution settle on the slats for a few minutes.
- Rinse the slats with a power washer or garden hose.
- Leave the slats to dry fully before staining.
While you’re waiting for it to dry, move into the next step.
Step 6: Cover all nearby plants and surfaces that don’t need stain
Remove or cover all nearby plants, the ground (especially paving and concrete) and furniture that doesn’t require staining using drop cloths.
Step 7: Apply stain on the slats
Finally, we come to actually staining (I told you most of the work was in preparation!)
To apply stain to the wooden slats, you can opt to use a roller, brush, or a sprayer depending on what you feel comfortable using.
Brush / Roller
The most common way to apply stain to wooden slats is with a brush. Compared with a roller, a brush is better as it is more effective in permeating the wood whereas it is easy to miss cracks and gaps with a roller, particularly if you are using oil-based paint.
Brush technique:
- Dip the brush into the can full of stain
- Apply the color horizontally from left to right.
- Then, apply another coat on the slats vertically from top to bottom, trying to avoid re-painting.
You must stain only two slats or one slat at a time to prevent the occurrence of lad marks or patches on the slat.
Sprayer
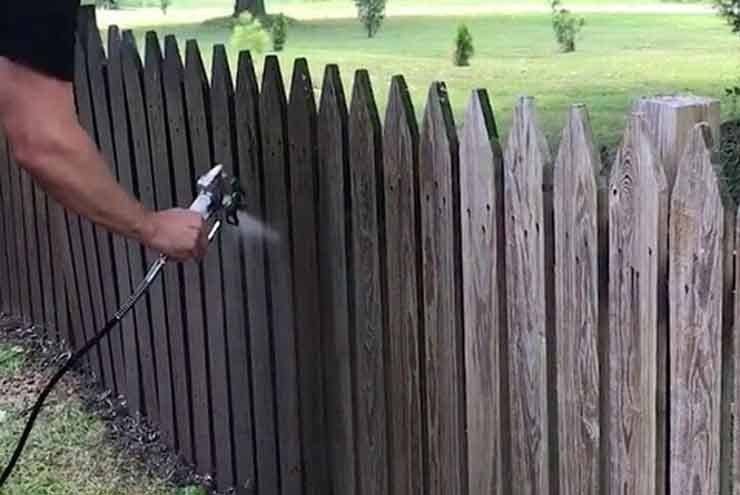
A stain sprayer is a quick way to apply stain to your old fence, but means that you have to purchase or hire a sprayer if you don’t own one already. You also need to spend some time learning how to use a sprayer, set it up and clean the sprayer, which we explain in other articles.
If you are using a sprayer, remember to maintain a distance while applying the coat on the fence. To prevent the occurrence of lad marks on the slats, ensure that you coat 3 ft sections of the fence at a time. You will use the same procedure to apply the stain using a roller.
Step 8: Apply additional stain coats
Allow the first coat of stain to dry, in accordance with the manufacturers directions.
Once dry, you can now apply the additional stain coats, to give an extra depth of color. The number of coats you apply depends on the look you want, but 2-3 coats is generally sufficient.
Allow the extra coats of stain to dry fully.
Step 9: Apply sealant to protect the fence
Using stain only will not be enough to give your wooden fence protection from wear and tear. For this reason, you will have to apply a durable sealant that will enhance the longevity of the fence.
For the best quality finish, you should opt for a waterproof and clear sealant, applied using roller, brush, or a sprayer. Follow the same steps as for applying stain.
After that, give the sealant time to dry. Then you’re done!
Final Thoughts on Staining an Old Fence
That’s your old fence staining completed! All that is left now, is to clean up the mess caused while staining and put things back to how they were.
When applying stains to old fences, you must ensure that you use the best quality fence stain for a fine and admirable finish. As far as painting and staining jobs go, staining an old outdoor fence is not too difficult and is very forgiving if you don’t get the technique quite right. Doing it yourself is a great way to use your skills, bond with your kids on an outdoor project, and also means that you don’t have spend thousands of dollars on commercial painters to help you with your task.
Lastly, do not try and stain the fence in one day. I suggest breaking the work into parts, doing your repairs and preparation work earlier, to make the workload more manageable. Take your time if you want to come up with a good finish and don’t rush.
Author
-

A jack of all trades, Todd has been a DIY enthusiast, traveler, and writer for many years. He has a deep understanding of all types of painting tools and door hardware, and has shared many articles on these topics throughout the years.
View all posts


