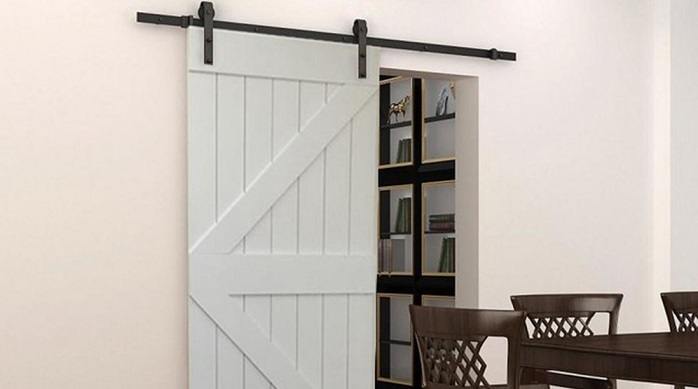
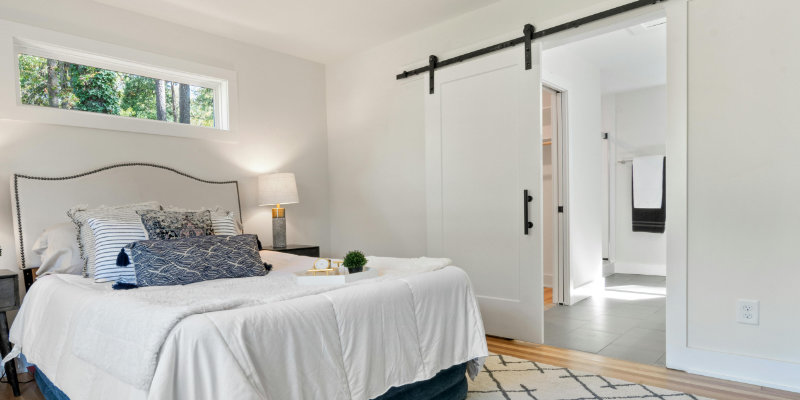
Bring country charm into your tiny home with barn doors. We explain how to install barn door hardware, everything from buying hardware to hanging it up.
If you’re crafting a country-style design for your tiny home, then you will want to consider barn doors. Barn doors evoke a rustic aesthetic that harkens back to a simpler time, and there is little else that can so convincingly communicate country aesthetic than barn doors.
Barn doors can act as stylish statement pieces, while effectively separating the main living areas of your home. Unlike standard hinged doors, barn doors take less space to fully open, making them ideal for tiny houses and rustic cabins, adding character without taking up too much space.
For hardcore DIY’ers, you can even use upcycled materials to construct your own barn door, in keeping with true country spirit.
What is Barn Door Hardware?
The entire barn door system consists of two main parts:
- Barn Door (the door itself)
- Barn Door hardware (hangers, rail/track, floor guide)
For your barn door to work properly, you will need to buy some special hardware, that is, the barn door hardware. In other words, the metal bits that hold the door up and make it work. Without these crucial pieces, your door is not going to work!
Barn door hardware is usually purchased in the form of a kit: one for the top (hangers and rail/track), and one for the bottom (floor guide).

Considerations When Buying Barn Door Hardware
Before you start shopping for your barn door and hardware, the first thing you have to consider is the dimensions of your space and therefore the door you intend to buy. This in turn, will inform what hardware you need to get.
I suggest that the order you follow is this:
- Step 1: Measure your wall space and determine your space limitations.
- Step 2: Find a barn door that you like the look of, that you are confident will fit into your space.
- Step 3: Finally, look for barn door hardware that is compatible with the door you have acquired.
Dimensions of Your Barn Door
Barn Door Size & Space
Single Door vs Double Doors
Barn doors come in both ‘Single Door’ and ‘Double Door’ styles. For a typical tiny home, a ‘Single Door’ style of barn door is going to be the most likely choice.
With regard to hardware, for the most part, a ‘Single Door’ barn door will require a rail (aka track) that is 5 feet to 8 feet long. Therefore, you will need to make sure your tiny home can accommodate at least 5ft of wall space for the rail to run along.
Take careful measurements to ensure that there is enough space for the barn door to slide with ease. Depending on the size and shape of your tiny home, you may find that even a standard single door barn door is too big, in which case you may need to get something custom made.
Barn Door Width
Most barn door hardware will be compatible with 36-inch wide doors. However, if you upgrade to an 8-foot track, you can usually get a door up to 48 inches wide instead. The track for the door should be at least twice the length of the door, plus ideally a 4 inch buffer.
How far does a barn door stick out from the wall?
The amount of space that a barn door sticks out from the wall mostly depends on the size of the door. If the door is the usual size, it tends to stick out two inches from the wall, but there have been thicker doors. The inside of the door is always held an inch from the wall.
What height should the barn door be?
When it comes to the height, consider the header space and the ceiling height. For a great installation, you’ll need a minimum of 6 inches to 8 inches of header space, to enable you to fit any design.
Style of Your Barn Door Hardware
Door Weight
In some cases, barn doors can be really heavy. As such, it’s imperative that you check the capacity of the barn door hardware before buying. Usually, hardware can support between 170 and 270 pounds.
Find out the weight of the barn door you’re getting, and ensure that the barn door hardware can support the weight of it.
Durability
The materials used to construct the hardware matter, especially if you value durability.
Buying hardware from a reputable brand that specializes in barn door hardware should bypass this issue. In most cases, the cost of hardware is determined by the quality of the material that it is constructed from, and naturally better brands are likely to cost a bit more. It is up to you to find the balance of affordability and durability/quality that you are comfortable with.
Most barn door hardware components feature stainless steel or steel that is coated black. Moreover, consider getting one with at least two bolts that can go into the door to ensure stability.
Finish
Since rustic and old-fashioned are the aesthetics that you’re going for by adding barn doors to your space, you want hardware that’s going to reflect that. As such, you want to pick out materials that have a finish that will enhance the overall appearance of the final result. When picking out barn door hardware, you can usually find pieces that are matte black, bronze or nickel-plated, though there may be other finishes too.
In addition, make sure you carefully choose barn door hardware that blends with your tiny home interior design, as well as complementing the color and style of the barn door itself.
Barn Door Hardware Measurements
You might be a little confused about the measurements for the hardware. The good news is the process of getting the correct sizes is very easy.
Before you start, you need to know the measurements of your door, as well as measurements for the vertical and horizontal wall space.
Next, to work out the length of the rails (aka tracks), multiply the width of your door by 2, then add 4 inches. The extra 4 inches is to allow a little room for error.
RAIL LENGTH = (DOOR WIDTH x 2) + 4 INCHES
If in doubt, get a rail that is slightly longer. A bit of extra length will not hurt, but one that is too short will be problematic.
Below is a quick guide for the most common door widths.
| Door Width | Rail Length |
|---|---|
| 24-28 inches | 5 feet |
| 30 inches | 5′ 4″ |
| 32 inches | 5′ 8″ |
| 36 inches | 6′ 4″ |
| 42 inches | 7′ 4″ |
| 48 inches | 8 feet |
I vs. J-Shaped Hangers
When it comes to stability, having the right hanger shape can make all the difference. The shape of the piece refers to whether it curves over the roller or attaches on the side.
The most common varieties are either I or J-shaped, but you can also find rhombus or flouted models as well. These hangers are ideal if you’re trying to add some additional flair to your doors without drawing too much attention to them.
I-shaped hangers
These are easier to install and require less clearance above the door. However, because they don’t wrap around the roller, they cannot hold as much weight.
J-shaped hangers
These, on the other hand, are perfect for when you have a thick, heavy barn door. These models can support a lot more weight (up to 100 pounds more in some cases), and ensure that you get the best performance. However, if you have limited space above your doorway, then you might not be able to use these hangers. Thus, be sure to measure your area beforehand.
Single vs. Two Piece Tracks
Installing your barn door hardware can be a bit tricky for some people, which is why most manufacturers include a comprehensive set of instructions.
If you want to make things even easier on yourself, then get a system with a single-piece track. The reason this makes installation a snap is that you don’t have to worry about syncing two sides together.
Many manufacturers provide you with two-piece tracks, which can be difficult to make level. Even though they come with joining pieces designed to keep the door from jumping off, it still takes a lot longer to get the installation right.
Floor Guides (Optional)
A floor guide is optional, but recommended, to prevent any problems with the door swinging from the bottom.
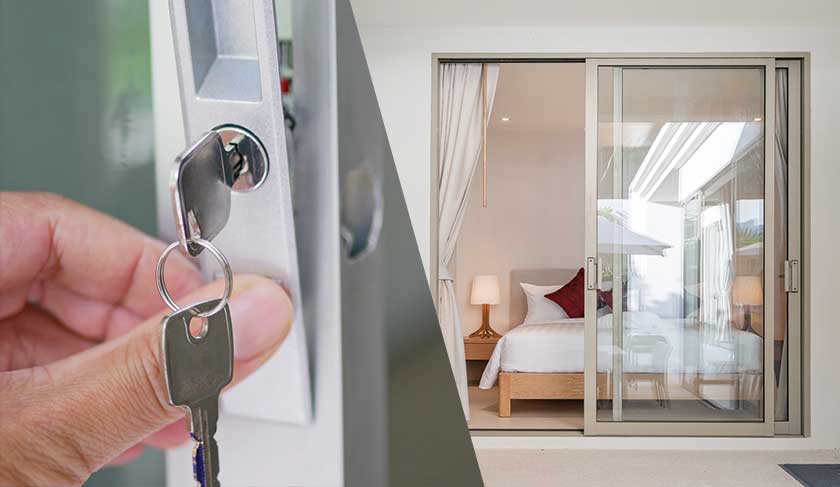
By way of comparison, on sliding glass doors, the bottom track guides the door along a path. In a similar way, a floor guide on a barn door guides it along a straight path along the wall. Although floor tracks are required when installing a sliding glass door, it’s not imperative for barn doors since they hang from the top only.
It is a personal choice, and many people choose not to have them, especially for smaller barn doors.
If there is no floor guide to help it slide along the wall, be mindful that the door can swing back and forth, since there is nothing holding it against the wall. Although recommended, floor guides can be tricky to install, and add extra complexity to the installment.

How to Install Barn Door Hardware
This tutorial will focus on installing single barn door hardware, since that is the most likely door style you’ll have for your tiny home.
Equipment
Tools you’ll need:
- Drill bit ⅜” – ½”
- Drill
- Speed square
- Tape measure
- Clamps
Steps to Install Barn Door Hardware
Step 1: Attach the Hangers
Attaching the hangers is the first thing you’ll need to do on the top of the barn door. You’ll attach one near each end. Your hanger’s placement will depend on which style of door you have.
Horizontal Placement
Install them between 3-6″ measured from the border of your door to the center of the hanger. You can try and do the placements differently to see which one will fit your setting, but ensure you don’t get too close to the border of your door.
The next step is to take your speed square and pass the hanger through it, clamping it temporarily, to ensure it doesn’t shift in place. This helps you get the right horizontal placement.
Vertical Placement
The next thing you want to do is to find the right vertical placement.
To figure out your vertical placement, you’ll need to measure and add the anti-jump cap width plus the width of your rail and ½ of the depth from the hanger groove.
The gap between the top of your door and the bottom of the hanger will be the total you get from the above measurements.
Attaching the Hangers
Use the already drilled holes on the hanger to guide you and drill ⅜”-½” holes.
Insert the flat bolt head towards the wall, then towards the outside of the door place the acorn nuts.
Repeat the same process on the other end ensuring you have tightened each end fully.
Step 2: Attach a Header Board (Optional)
It’s often recommended to make use of a header board such as one of these examples when installing. This is because some homes might have installation holes already drilled and others don’t have. It’s up to you whether to use one, and if so, choose the header size that matches your needs.
The recommended size mostly is 1×6 or 1×4. Note that the header board should be 2″ above the height of your door.
Step 3: Install the Rail
You should mount the rail on the header board, if you have one. The vertical measurements of the rail you use will depend on the height of your door.
- Mark the first hole on the header board by overhanging the edge of the rail 3-5″. Use a 3/16 drill bit to pre-drill a hole.
- Hold up the rail on one side and line it up with the first hole, then tighten the bolt but not all the way.From the center of the spacer you attached across the whole length of the door, mark a straight, level line.
- Mark holes where remaining bolts will be installed by pivoting the rail.
- Start attaching from the far end of the rail first. Then afterward, do the other holes using one spacer and bolts on the already drilled holes.
Step 4: Attached Your Floor Guide (Optional)
Installing your floor guide is the next step, if you have decided to use one.
- T-guide Installation: for this style of floor guide, cut a groove on the edge at the bottom of your door so the guide can slide in. Note that the groove should be at the center of your door.
- Wall-mount Guide Installation: this style of guide is really easy since you don’t have to groove your door, and it’s also wall-mounted.
Floor guides come in kits, and the kit and guide you purchase should come with full instructions for installation. Since models and styles vary slightly it is impossible to give a one-size-fits-all set of instructions for this section, so make sure to follow the manufacturers manual for this bit.
Step 5: Hang Up Your Door
- Hang your barn door carefully, only after the floor guide is in place.
- After fixing it, slide the barn door.
- Ensure the door is plumb, without having to support it in place.
Step 6: Put the Door Stops In
- Have your barn door in a closed position, and slide one door stop up against it and snug all the way.
- Next, slide the door in the open position, and put the other doorstop on.
That’s it, time for a cup of tea. Enjoy!
Conclusion
Barn door hardware kits are an affordable and easy way to add a unique, classy look to your home. You can incorporate them into new or existing doors for endless design possibilities. We hope that this barn door hardware tutorial has been useful in helping you gather and install your barn door, to give your home that bygone country feel.
This article was originally published on 17 August 2020, and updated on 19 November 2024 for accuracy and readability.
Author
-

Hi, I’m Rach, the other half of NestKoo. I grew up on a sheep farm in Australia where I spent most weekends in the yard fixing or constructing something or other; essential DIY skills that I still use today at home or helping others.
View all posts


